Thursday, 15 June 2017

Pista shell lotus

Hello friends,

We are back with a new post. Today, we have a lotus made from pista shells. All you need is patience to stick the shells together as it can be tricky. I have used Feviquick here, you can also use hot glue gun. You must let it dry completely before painting it. You can then paint as desired with pearl colours.


I have posted two pista shell crafts previously in this blog. One is lotus with Ganesha and the other is a wall hanging.
 You can refer to this post.

 It is different from this one in that I have placed a small Ganesha idol in the centre. It can be used as a showpiece or you can also gift it to your friends.


It is a simple wall hanging made on a cardboard, pista shells have been stuck and it has been painted. It can't get simple than this.

We are linking it up with the Inspiration Spotlight Linkup Party

Don't be a silent reader. Leave behind your comments and suggestions.

Hope you like it,
Chandhini and Subhashini

Monday, 15 May 2017

Quilled earrings using beehive technique

Hi friends,

Today's post is a beehive quilled earring made for our friend. We made it last year to gift her. We have made in beautiful blue colour scheme.


Hope you like it,
Chandhini & Subhashini

Saturday, 29 October 2016

Mehandi designs

Hi all
Happy Diwali to everyone.
Diwali is a festival of lights, colors, sweets,dress and not to forget Mehandi and rangoli.
So here is my Mehandi design which is inspired from the net.
Hope you like it.
Subhashini

Thursday, 6 October 2016

Quilled butterfly earring

Hi everyone

Today's post is a quilled butterfly earring.


We have used shades of pink. It is quite simple earring made using tight coils and decorated with half pearls. It looks cute and adds charm to your outfit.


LINKING IT TO:

Hope you like it.
Chandhini
Subhashini

Monday, 5 September 2016

Quilled ganesha wall hanging

Hi everyone
Happy ganesh chaturti to all.
Have you ever wondered what to do with the old CDs that lie around in your home? If yes, why not try making something new and different out of it.

Today's post is a wall hanging made on an old cd. We have made a quilled ganesha and stuck on the cd and decorated with a malaysian flower and some punched flowers.
Hope you like it.
Chandhini and Subhashini

Thursday, 1 September 2016

DIY Kundan stones rangoli

Hi everyone 

Today's post is a rangoli, we have made it for Navratri (an Indian festival).


Nowadays rangolis on OHP sheet or wooden or plastic boards are trending. These add a festive look to your house. These tend to be expensive, if bought. Why not make it yourself in your spare time? It is very easy to make. 

All you need is 
  • OHP sheeet for base
  • Ball chain
  • Kundan stone or rhinestone
  • Half pearls
  • Glue
  • Glitter for ouline
You can make it in any design you like. Take a print out or draw or  an ouline of the design you want in a sheet of paper. Place the OHP sheet above it. You may secure it with paper clips. Apply glue over the outline and start sticking the embellishments.
Let it dry for few hours. And you are good to go.

 It can be placed in nine different styles,  although we have shown only 6 styles here. It can be used to decorate house during festivals like Diwali and Navratri. 


We hope you try your hands at it. Do let us know how it turned out.
Hope you like it. 
Chandhini and Subhashini

Sunday, 21 August 2016

Birthday greeting card

Hi everyone
Today's post is a greeting card.
Ever thought to give your near and dear ones greeting cards handmade with love?
Then do try making this card. Though this looks simple, but ain't it cute? Making this card won't take much time. 
 Its background is made using lady's  finger dipped in acrylic paint, along with pink handmade paper. It has a quilled flower in the centre. We have also used some pearls and a butterfly.


All you need is 
  • a lady's finger, 
  • some acrylic paint,
  •  a white card stock or pastel sheet, 
  • pattern paper, 
  • glue and 
  • embellishment of your choice.
Start by cutting lady's finger horizontally, dip it in acrylic paint, press it over white sheet in any way you like. After you are satisfied with the design, let it dry for an hour. Cut your pattern paper vertically or horizontally and stick it on the designed sheet as we have done. Now write the wishes or sentiment, stick some embellishment and you are good to go.
This is so easy that even kids can make this card. It will be fun.


Hope you like it
Chandhini and Subhashini
Related Posts Plugin for WordPress, Blogger...

Anniversary card: Ft pattern papers

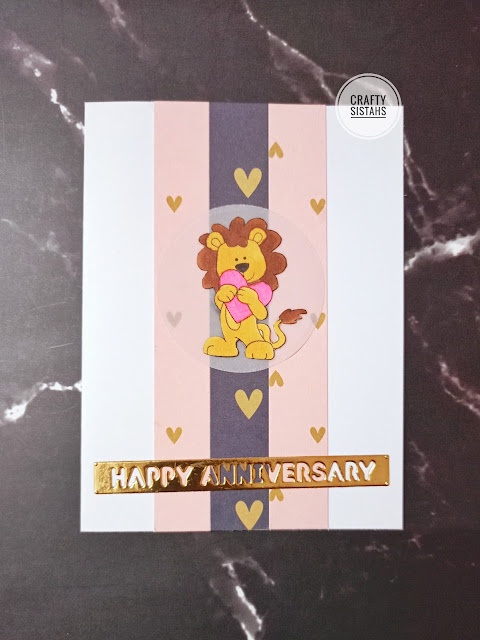
Hello friend, We used some pattern paper scraps for the background. We had this image colored and cut lying around, so thought of pairing it...